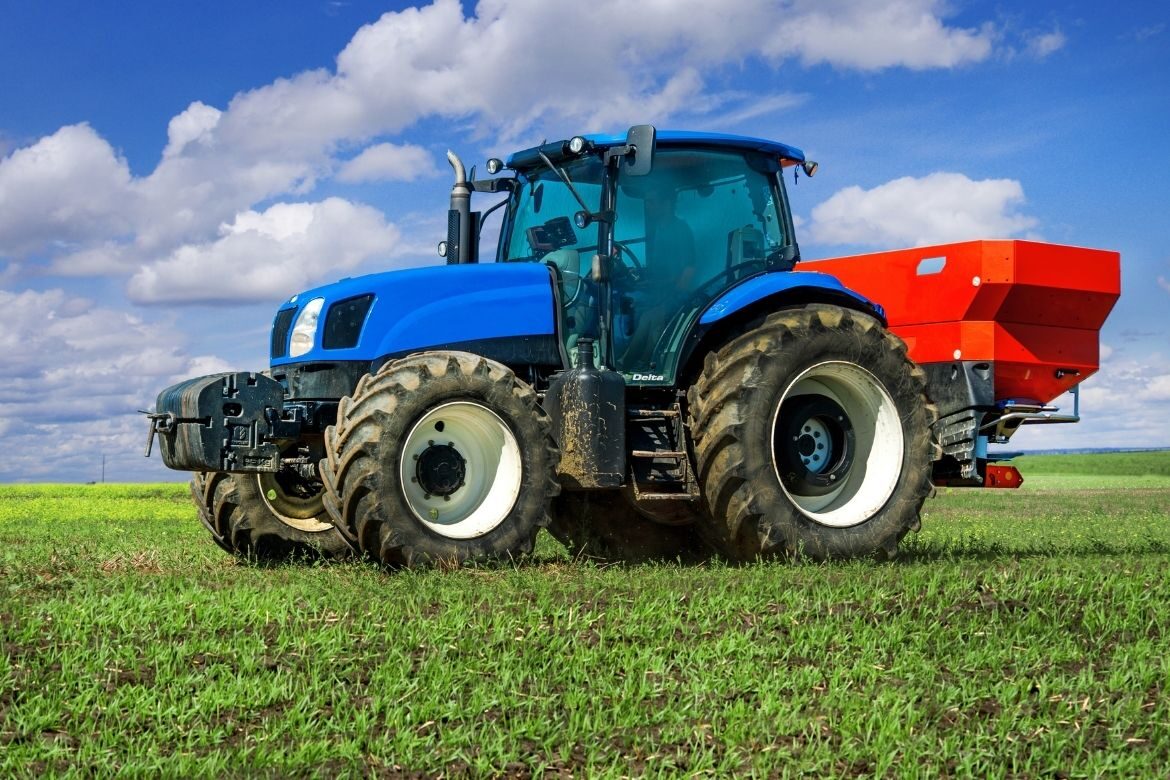
Numerous factors impact the functionality of fertiliser spreaders, affecting even and accurate spread. To get the best performance out of the machinery, Teagasc specialist Francis Quigley offers some pointers to look out for.
Firstly, check if it is mounted correctly on the tractor at working height. This is normally a disc height of around 70cm over the crop, but double check the operator’s manual for your specific machine.
Ensure that the machine is level left to right, and front to back. If not, you should adjust the tractor tyre pressure, lower the link arms and the top link to make it level it out.
Wear on the vanes will influence the spreader’s performance, so inspect the spreader vanes. As this is a wearing part it needs to be replaced regularly. Signs of wear are usually seen as waves or holes worn in the vanes.
The angle of the vanes also needs to be adjusted in relation to the fertiliser type being spread. Keep in mind to also check for any wobble in the discs, as the bearings wear out over time.
Next up is to examine the agitator in the bottom of the hopper, as this ensures a constant flow of fertiliser on to the disks. Note the shutters on both sides of the hopper – they need to open evenly.
Check the flow rate of fertiliser by calibrating the spreader. Different fertilisers will flow at different rates, so the shutter position for 125kg/ha of urea will be different to the shutter position for 125kg/ha of CAN. Remove one of the discs and place a bucket under the shutter outlet. Run the tractor PTO, then open the shutter for 30 seconds and collect the fertiliser in the bucket.
Check the tractor forward speed and the PTO speed. A GPS guidance system is a worthwhile investment for anyone spreading their own fertiliser, as this will also give you an accurate forward speed reading.
If you have a headland or boundary spreading unit on the spreader, ensure it is working well and that the vanes are adjusted to suit the working width used.
LSL News.

